Do you ever wonder how travel vloggers edit their videos so they look so professional?
In the age of social media, travel vlogging is a famous way for people to share their adventures.
However, creating a visually appealing and engaging travel vlog needs more than just a good camera and an exciting destination.
 |
| 10 CapCut Hacks For Editing Your Travel Vlog Like A Pro: eAskme |
It also requires skillful editing, and that's where CapCut comes in.
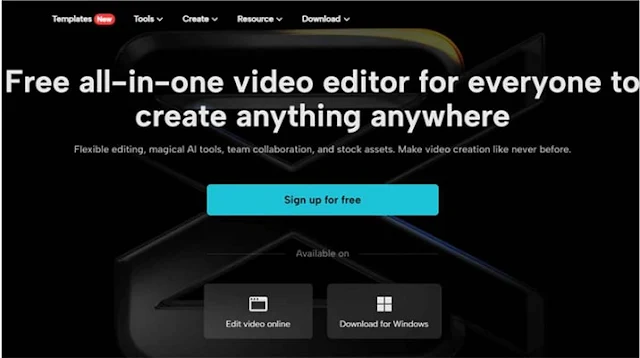
CapCut is a free online video editor that offers several features that allow users to edit their videos and create professional-looking content.
CapCut is particularly useful for travel vlogging, as it allows users to add filters, effects, and transitions to their footage, making it aesthetically pleasing.
In this article, we'll look closer at CapCut and explore some top hacks for editing your travel vlog like a pro.
We'll cover everything from basic features like importing footage and cutting clips to more advanced techniques like speed ramping and color grading.
Once you complete reading this blog, you'll have all the knowledge about the tools you need to create great travel videos.
Basic CapCut Features For Travel Vlog Editing:
 |
| Basic CapCut Features For Travel Vlog Editing: eAskme |
Before we dive into the CapCut hacks, it's important to understand the basics.
CapCut offers a range of essential features useful for travel vlog editing, including importing footage, cutting and trimming clips, adding and adjusting audio, applying filters and effects, and basic transitions.
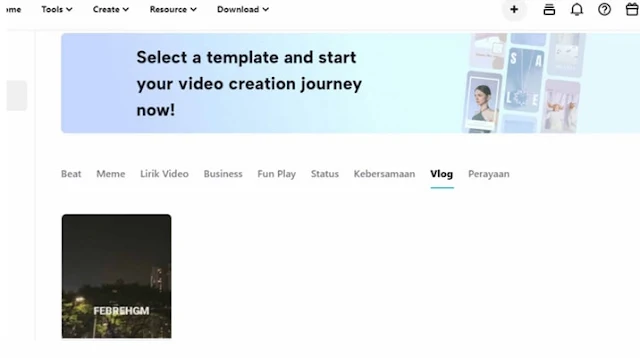
To use footage, go to the CapCut website and pick a "Canva'' to start.
You can pick the video files you want to edit from your device. Once done, you can start cutting and trimming your clips to create a more cohesive storyline.
CapCut's editing tools allow you to easily cut and trim your clips, add and adjust audio, and apply filters and effects to improve your footage.
Basic transitions like fades, cuts, and dissolves can make your travel vlog look more professional and polished.
You can find these transitions under the "Transition" tab in CapCut, and you can drag and drop them onto your timeline to apply them to your footage.
10 CapCut Hacks For Editing Your Travel Vlog:
 |
| 10 CapCut Hacks For Editing Your Travel Vlog: eAskme |
Now that we've covered the basics of CapCut let's explore some of the top hacks for editing your travel vlog like a pro.
These hacks will take your vlogs to the next level, making them more engaging and attractive.
1. Speed Ramping For Dynamic Footage
Speed ramping is a technique where you change the speed of your footage to create a more dynamic and visually charming effect.
This technique is particularly useful for travel vlogging, as it allows you to highlight exciting moments like jumping off a cliff or riding a rollercoaster.
To use speed ramping in CapCut, select the clip and click the "Speed" button. You can adjust the speed of your footage to create a more dramatic effect from there.
2. Using Overlays For Creative Effects
Overlays are a fun and creative way to enhance your footage and make it more interesting.
Overlays can add textures, shapes, and animations to your footage.
To use overlays in CapCut, click the "Overlay" tab and select the overlay you want.
You can adjust your overlay's size, position, and opacity to create the desired effect.
3. Creating A Cinematic Look With Color Grading
Color grading is a technique used to enhance the color and tone of your footage, giving it a more cinematic look.
This technique involves adjusting your footage's brightness, contrast, saturation, and hue to create a specific mood or style.
CapCut offers a range of color grading tools that let you alter the color and tone of your footage.
To use color grading in CapCut, select the clip you want to edit and click on the "Color" tab.
You can then adjust your footage's tone and color to achieve the desired effect.
4. Animating Text And Titles
Adding text and titles to your travel vlog can help communicate important information or create a specific mood.
Animating your text and titles can make them pleasing and engaging.
To animate text and titles in CapCut, add the text or title to your timeline and click on the "Animation" button.
In this menu, you can select an animation and adjust its speed and duration.
5. Creating Smooth Zooms With Keyframes
Keyframes are a powerful tool that allows you to create smooth and seamless transitions in your footage. They can create smooth zooms, pans, and other camera movements.
You can also use the video background remover tool to change the background of the videos.
To use keyframes in CapCut, select the clip you want to edit and click the "Keyframe" button.
From this tab, you can add keyframes to your footage and adjust your clip's position, scale, and rotation over time to create the desired effect.
6. Masking And Blending For Creative Shots
Masking and blending are techniques used to create creative shots and visual effects.
Masking allows you to hide or reveal parts of your footage, while blending allows you to blend multiple clips to create a seamless effect.
To use masking and blending in CapCut, select the clip to edit and click the "Mask" or "Blend" button. And then, you can adjust the settings to create the desired effect.
7. Using Split-Screen For Comparison Shots
Split-screen is a technique that shows two or more shots side by side.
This technique is particularly useful for comparison shots, where you want to show two different perspectives or locations.
To use split-screen in CapCut, add the clips you like to add to your timeline and click the "Split" button.
Now, you can easily adjust the size and position of each clip to create the desired effect.
8. Creating A Speed Ramp With Audio
A speed ramp with audio is a technique where you change the speed of your footage while adjusting the pitch to create a seamless effect.
This technique is particularly useful for creating smooth transitions in your travel vlog.
To use this technique in CapCut, select the clip you want to edit and click on the "Speed" and "Pitch" buttons.
After that, you can adjust the speed and pitch of your footage to create the desired effect.
9. Use of Stock Footage And Audio Library
CapCut offers a range of stock footage and audio for your travel vlog. This is useful when you need more footage or music for your vlog.
To access CapCut's stock footage and audio library, click the "Stock" tab, and select the footage or audio you want to use.
10. Advanced Transitions For Creative Editing
CapCut offers a range of advanced transitions that allow you to create more creative and visually pretty effects. These transitions include 3D transitions, glitch transitions, and particle transitions.
Select the clip to use advanced transitions in CapCut and click the "Transition" button. Choose the transition and adjust for the desired outcome.
Conclusion:
Travel vlogging has become increasingly popular in recent years, and CapCut has emerged as a popular tool for editing travel vlogs.
CapCut offers a range of features and tools that allow you to edit your footage and create a professional-looking travel vlog.
This article covered 10 CapCut hacks for editing your travel vlog like a pro.
Using these hacks covered in this article, you can take your travel vlogging to the next level and create engaging and visually attractive content.
So, what are you waiting for?
Visit CapCut today, sign up, and start editing your travel vlog like a pro!
Still have any question, do share via comments.
Share it with your friends and family.
Don't forget to join the eAskme newsletter to stay tuned with us.
Other handpicked guides for you:


